What’s the Difference Between a Spreader Bar and a Lifting Beam?

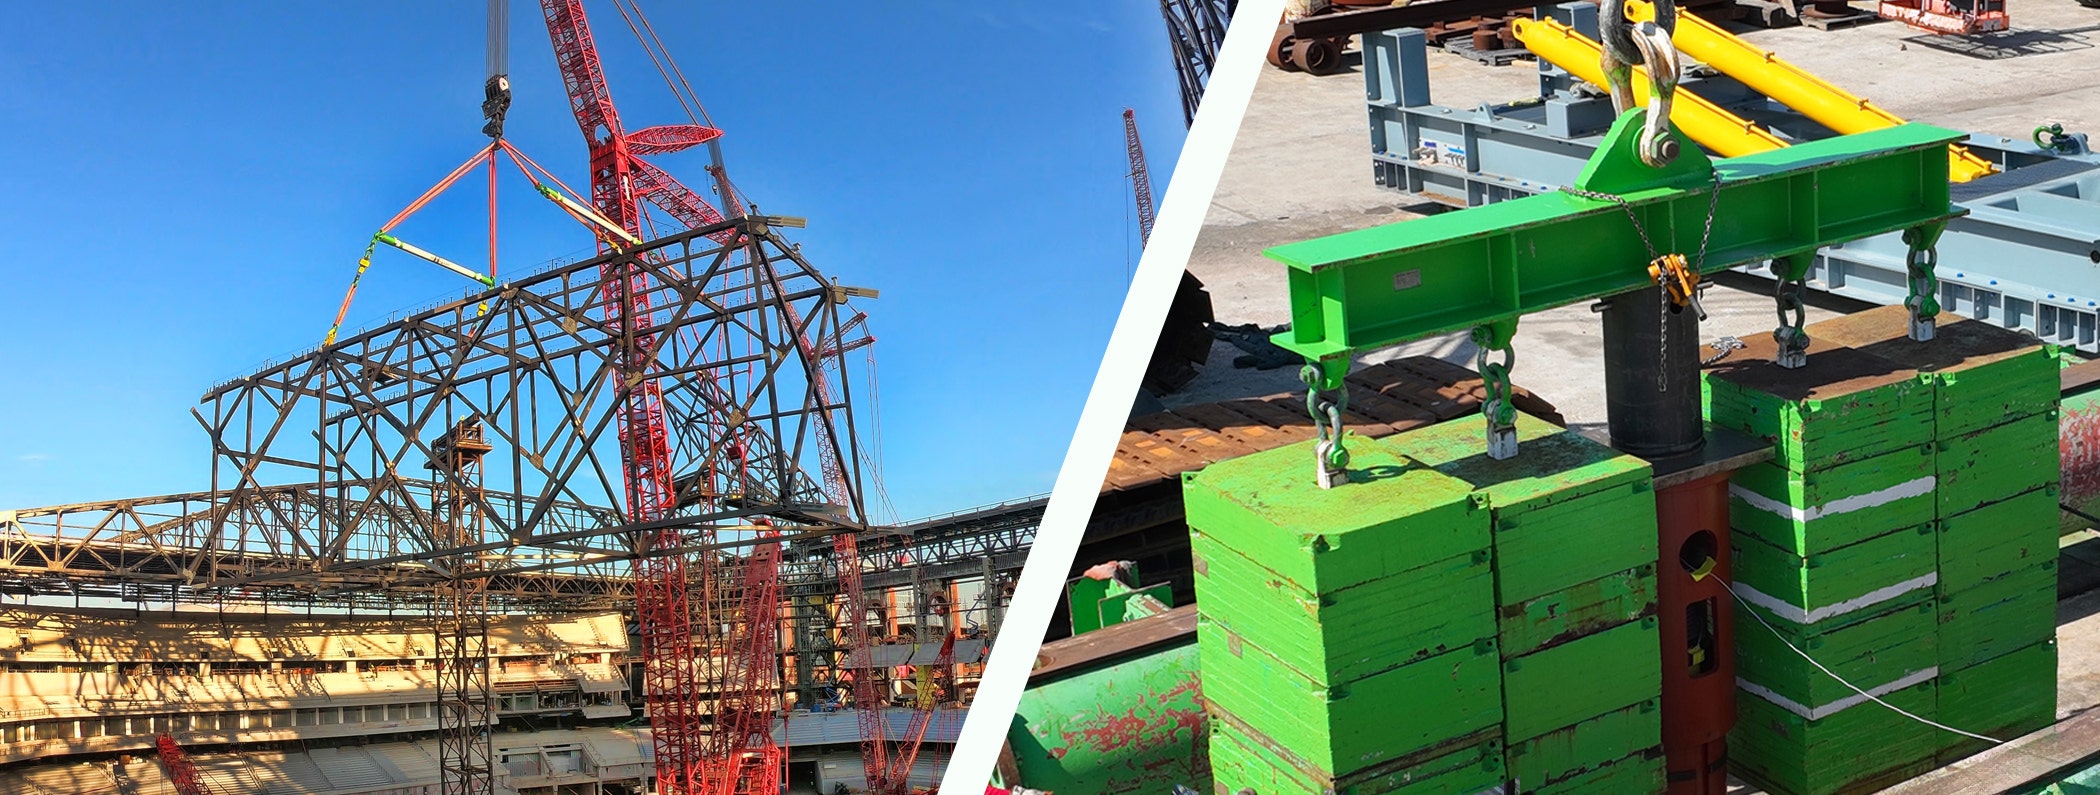
Spreader bars and lifting beams have quite a bit in common. Both rigging equipment are used to transport loads with overhead lifts. They’re “below-the-hook” lifting devices that stabilize and support loads, and both are used to keep rigging slings perpendicular to the horizon while moving.
The overall goal of both lifting spreader bars and lifting beams is to minimize damage to loads, other pieces of rigging hardware, and workers below. However, these two devices are not interchangeable. They have their differences that influence its purposes and functionality at different job sites.
Many rigging professionals still don’t completely understand how lifting spreader bars and lifting beams are different. That’s why we want to dive deeper into the subject today on our blog. Let’s talk about the different forces exerted on the two products, as well as their weaknesses, strengths, prices, and more.

Understanding a Spreader Bar for Lifting
A spreader bar is a basic tool that helps distribute weight by applying pressure to the bar. It has two slings at both ends to keep loads steady and stop them from tipping or getting damaged. These bars are commonly used in industries like construction, engineering, and remote lifting, as they allow a single spreader bar for a crane to lift from several points at once.
When to Use Spreader Bars:
- Lifting loads that might tip, slide, or bend
- Preventing loads from being crushed/damaged
- Efficiently lifting and moving wide/heavy-duty loads
When NOT to Use Spreader Bars:
- There is minimal headroom to accommodate overhead slings
- There’s a possibility of spinning
- The load needs to be supported all the way through its length
Exploring Lifting Beams
A lifting beam differs structurally from a spreader bar. It typically features a single attachment point in the center, allowing it to connect directly to a crane or hoist. The beam supports loads with multiple lifting points via hooks or rigging slings.
Lifting beams are best suited for lighter loads and short-term use. They are customizable, making them a versatile choice for specialized lifting applications.

When to Use Lifting Beams:
- Moving off-balanced loads
- Controlling inward crushing forces
- Using special load-securement attachments
When NOT to Use Lifting Beams:
- You need a lightweight device – lifting beams are rigid and heavy
- The load has a wide span that requires significant lifting
- You’re already worried about the load tipping and/or spinning
Choosing Between a Spreader Bar and a Lifting Beam
We’ve shared some of the pros and cons of each device, but now, we want to give you some scenarios in which a spreader bar or lifting beam might be the best choice for your project.
Here are some scenarios to determine when to use each device:
Scenario 1: Supporting a Load Along Its Length
Use a lifting beam when a load needs support throughout its entire length. It offers multiple attachment points to stabilize the load comprehensively. Because spreader bars cannot attach to a load in their middle section, you should never use one when lifting a load that needs support throughout its whole body.
Scenario 2: Working in Height-Restricted Areas
If your project has minimal overhead clearance, a lifting beam is the better choice due to its compact design.
Scenario 3: Lifting Unstable Loads
In most cases where your load is shaky, we recommend going with a lifting beam. These are usually more appropriate for large, heavy loads.
Scenario 4: The Crane Can Only Handle an Easy Lift
Generally, spreader bars for lifting minimal loads are the most efficient at distributing weight for a safe and easy lift. The setup allows you to attach the load to two different endpoints, evenly distributing the weight for the crane to lift.
Cost Comparison: Spreader Bars vs. Lifting Beams
It’s a bit difficult to provide solid answers for pricing estimates – these depend on what you need, what you’ll be lifting, and where you’ll be using the devices. Still, an industrial spreader bar rigging setup tends to run from $1,900 to $4,690, give or take a few hundred dollars.
Lifting beams, on the other hand, are almost always more expensive. You’ll easily pay upwards of $2K for one. Some even cost as much as $20K.
Because lifting beams are so rigid, they require more material to build and are therefore more expensive to purchase than most spreader bars.
Often, businesses end up purchasing a lifting spreader bar for crane or rigging because it is extremely cost-effective – despite its benefits, heavy-duty capabilities, and versatility.
Your Partner in Rigging Equipment
we provide both lifting beams and spreader bars for rigging, along with other essential equipment like:
Whether you’re interested in renting or purchasing, our rigging specialists are here to guide you in choosing the right equipment for your needs.
-

 Holloway Chain Sling | 4-Leg (Grade 100) | 3'
3-Foot Holloway Brand 4-Legs Chain Slings are manufactured in Houston, Texas USA using the highest quality components available. Go factory-direct! Our Grade 100 Chain Slings are protected with a tough black coating for superior rust protection and performance. They are certified to meet or exceed industry standards for overhead lifting operations and are proof-tested to twice their Working Load Limit (WLL) at our testing facility. Grade 100 components can lift up to 25% more than Grade 80 — use a smaller chain diameter to meet the same WLL. Each sling is guaranteed to conform to ASME standards and comes with a metal tag including mill certificate, proof test, conformance certifications, and MTR information. When you want the best quality and value, no one beats Holloway!
Fast shipping: in-stock slings ordered before 10am Central are usually shipped the same day.
Learn More -

 Terrier 0.5 TTL Specialty Clamp | SKU #800550The Terrier 0.5 TTL Specialty Clamp is designed for the horizontal lifting and transportation of steel plates and other non-deflecting materials. With its high lifting capacity, compact design, and lightweight body, it is perfect for handling large materials like steel in manufacturing, construction, and industrial settings. Learn More$664.68
 -

 Endless Polyester Round Lifting Sling | HHERS1 | Purple - 2,600 lbs WLLThis round lifting sling offers safe and efficient lifting capabilities, crucial for various industries where heavy loads need to be lifted securely. Its durability and versatility make it an essential tool for makesure workplace safety and optimizing lifting operations. Learn MoreAs low as $8.50 was $9.24
 -

 Holloway Heavy Duty Eye & Eye Flat Web Sling | 4 Ply | Nylon
Slings are available in nylon or polyester webbing. Minimum 5:1 design factor. Do not exceed rated capacities. The ratings must be reduced when lifting at angles of less than 90 degrees with the horizontal.
Learn MoreAs low as $27.50 was $28.95 -

 Crosby G-209 Screw Pin Anchor Shackles | 3/16" | 0.33T - 1018357Crosby G-209 Screw Pin Anchor Shackles 3/16" feature a quick-release pin for efficient connections in rigging applications. Known for their quality and ease of use, these shackles are suitable for a variety of tasks. With multiple capacities available, they are a dependable choice for diverse lifting needs. Learn More$10.35