Chain Sling Inspection, Maintenance, and Selection: A Practical Approach

Chain slings are the backbone of many lifting operations, offering superior load stability and load-bearing capabilities. Holloway Houston, a leading provider of lifting products and services for over 70 years, understands the importance of using the right chain sling and maintaining it properly to ensure the safety of your lifting operations. This comprehensive guide will help you understand the different types of chain slings and how to keep them in top condition.
A Crucial Component in Lifting Operations
Chain slings are essential for many lifting operations, providing excellent load stability and strength. The first step in mastering the use of chain slings lies in understanding the variety available. From the common single-leg sling to multi-leg configurations for more complex lifts, each type serves a unique purpose in the rigging.
Understanding the Sling Types
Before we explore the specifics of each sling type, it is essential to comprehend their adaptability. Each sling is purposefully designed to accommodate different loads and lifting scenarios, prioritizing efficiency and safety in every operation.
Types of Chain Slings
When you're in the market for lifting chain slings, here are some factors to keep in mind.
Single Leg Chain Sling
The Workhorse of the Lifting World
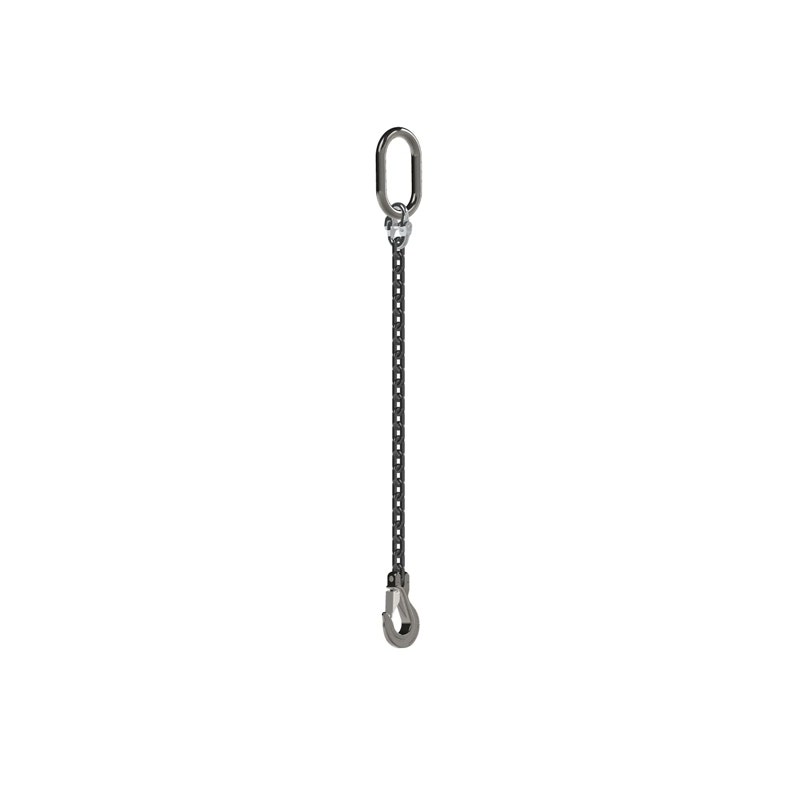
The single-leg chain sling is the most commonly used because of its simplicity and versatility. It features a single lifting point, making it ideal for handling loads best managed from one central point. This can include lifting pipes, machinery pieces, and other single-point hoisting applications.
Advantages: Its intuitive design makes it easy to use and inspect. It also provides reliable handling when the lift angle is not a concern.
Disadvantages: Due to its single point of contact, it may not distribute loads evenly, potentially leading to an unbalanced lift.
Double Leg Chain Sling
Equilibrium in Lifting
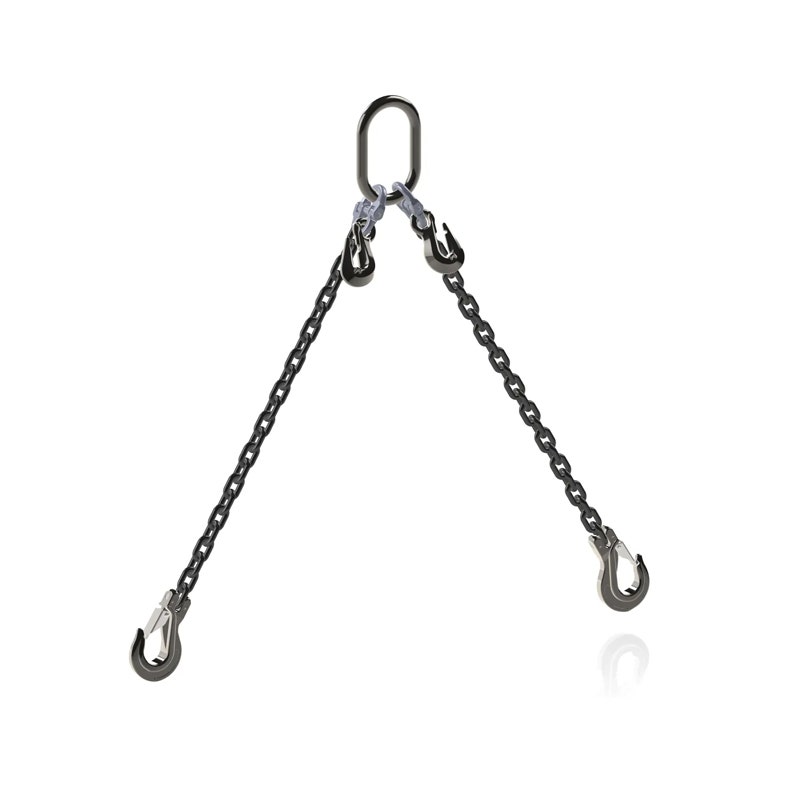
The double-leg chain sling offers an extra layer of stability by providing two legs to support the load. It is excellent for loads that require a balanced approach and where the load is symmetrical, like lifting crates and pallets.
Advantages: It maintains balance in the lift and offers a better weight distribution for the load.
Disadvantages: Its size can be challenging and is not as adaptable as its single-leg counterpart for handling different load shapes.
Multi-Leg Chain Sling
Load Sharing Made Simple
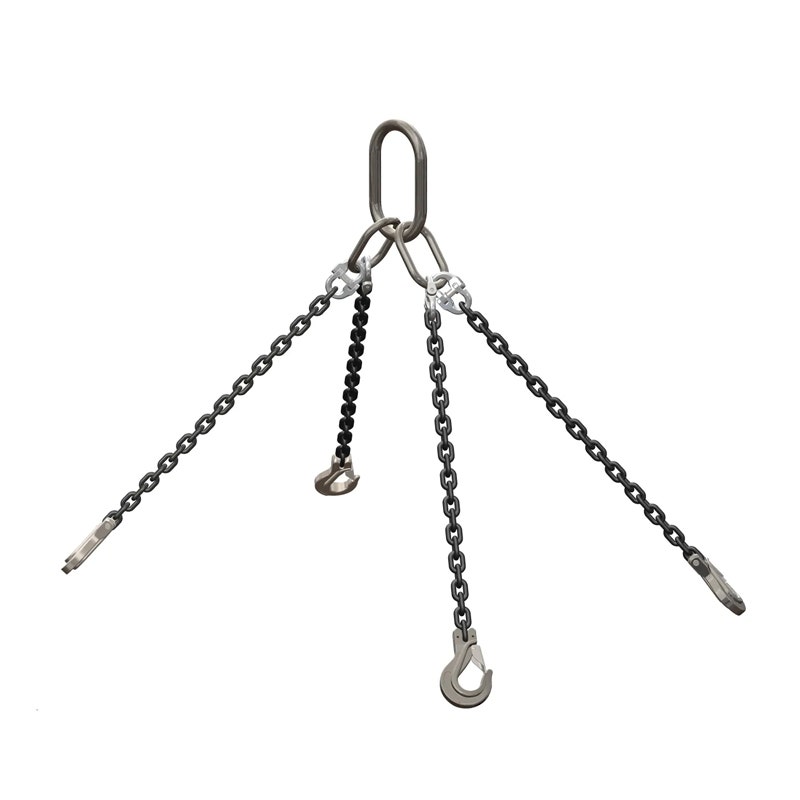
Multi-leg chain slings come in various configurations, typically ranging from two to four legs (or more for custom lifts). Each configuration is tailored to the specific load shape and weight distribution required. They are commonly used for complex lifts such as large machinery.
Advantages: Offers exceptional load weight sharing, adjustable load distribution, and the capacity to handle a broader range of shapes.
Disadvantages: Requires more preparation and may involve more complicated rigging, not to mention the necessity for precise load calculations.
Choosing the Right Sling
Selecting the right sling for your lifting operation is as critical as the actual lifting. Whether it's about an individual property or the collective properties of your lifting task, everything demands clear deliberations. You must consider the weight of the load, its shape, and the lift angle, amongst other factors. Always err on caution and opt for a sling with a higher load capacity if the exact load weight is unavailable.
Routine Maintenance and Inspection
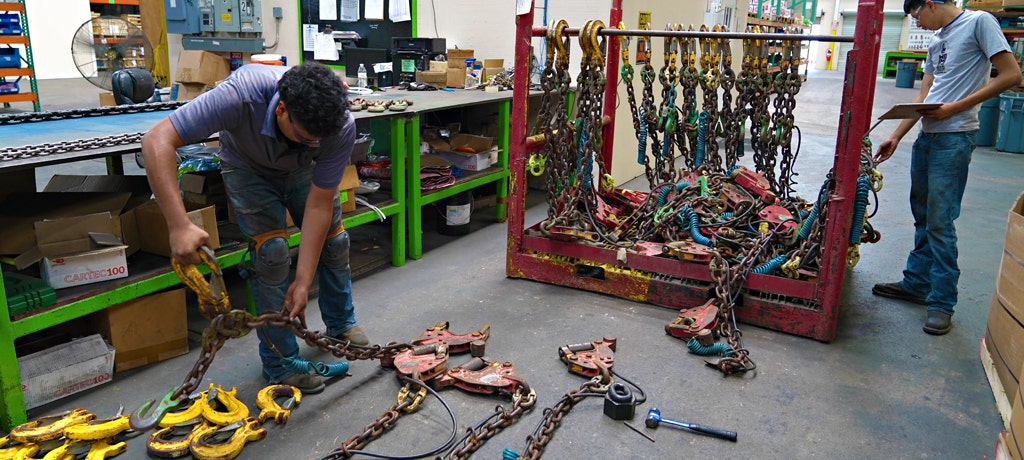
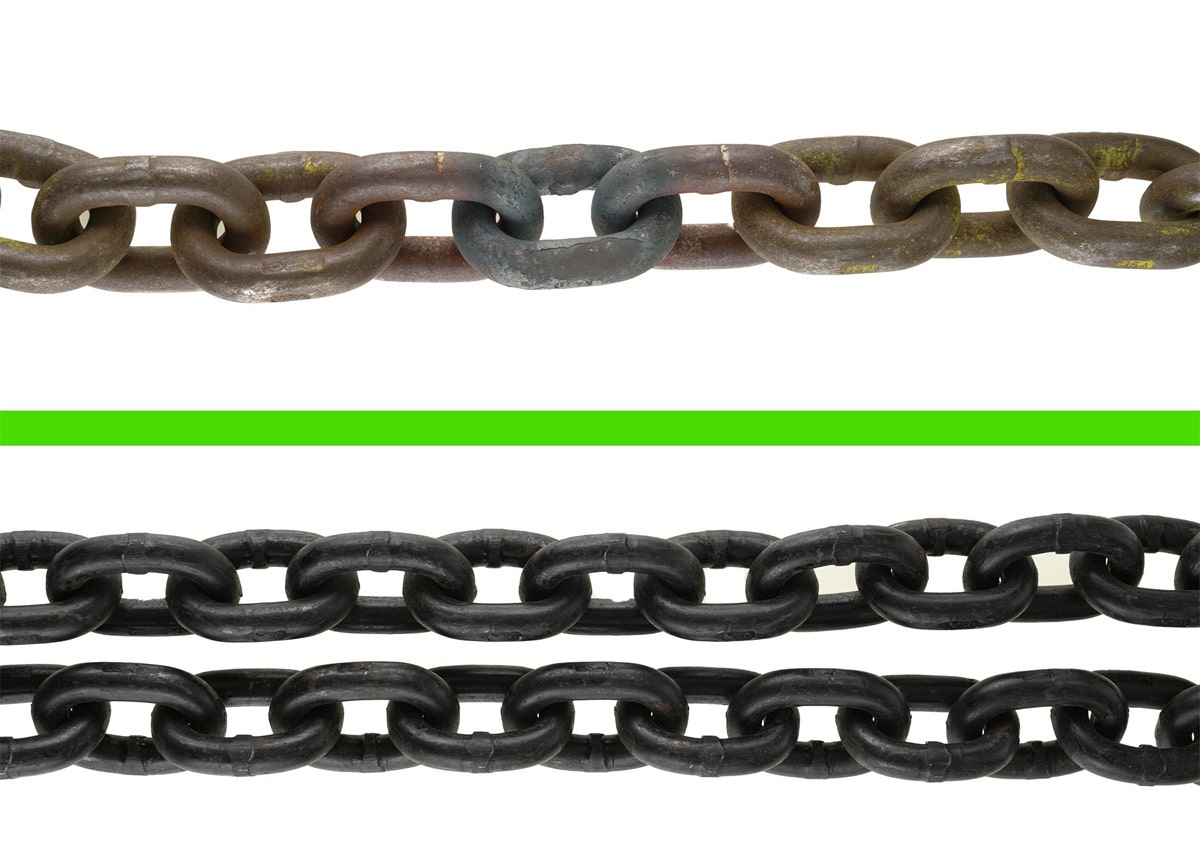
A chain sling is only as strong as its weakest link — quite literally. Regular inspection is essential to identify weakening or damage. Any sign of wear or defect necessitates immediate removal from service. To guarantee the longevity and reliability of your slings, schedule routine inspections at least annually, if not more frequently. Detailed information about inspection criteria should be available from the manufacturer or an experienced sling supplier.
Final Thoughts
The world of chain slings is vast and varied, with each type catering to different operational needs. For those working with these lifting marvels, the commitment to understanding their functionality and practicing diligent maintenance is a pledge to safety and operational excellence.
Consult our experts, find the suitable sling for your next lift, and execute your rigging tasks knowing you have the most effective tool. Whether it's a single leg for simple tasks, a multi-leg for heavy lifts, or a specialized sling for wild card operations, maintaining and using your slings makes your lifting system robust and reliable.
Additional Resources
To further expand your knowledge on chain sling inspection and safe operating procedures, consider the following resources:
- A comprehensive guide to conducting a safety inspection on your chain slings.
- Safe lifting practices and regulations documents for different industries.
- A list of common mistakes to avoid when using chain slings.
- An overview of various types of rigging hardware and their uses.
-

 Holloway 1/4" Chain Sling | 1-Leg (Grade 100) | SOG | WLL 4300lbs at 90° | Grab Hooks | 3'The Holloway Chain Sling with grab hook, 3 ft in length, is ideal for lifting and moving heavy equipment, machinery, and materials in different applications, including construction, manufacturing, and warehousing. It is made from high-strength Grade 100 chain, lightweight, easy to handle, and meets all applicable safety standards in industrial settings. Built in Houston. Components sourced from trusted brands. Final product may vary from image. Learn Morewas $77.69 Special Price $69.92
 -

 Holloway Chain Sling | 2-Leg (Grade 100) | 6'
6-Foot Holloway Brand 2-Legs Chain Slings are manufactured in Houston, Texas USA using the highest quality components available. Go factory-direct! Our Grade 100 Chain Slings are protected with a tough black coating for superior rust protection and performance. They are certified to meet or exceed industry standards for overhead lifting operations and are proof-tested to twice their Working Load Limit (WLL) at our testing facility. Grade 100 components can lift up to 25% more than Grade 80 — use a smaller chain diameter to meet the same WLL. Each sling is guaranteed to conform to ASME standards and comes with a metal tag including mill certificate, proof test, conformance certifications, and MTR information. When you want the best quality and value, no one beats Holloway!
Fast shipping: in-stock slings ordered before 10am Central are usually shipped the same day.
Learn More -
Holloway 1/4" Chain Sling | 2-Leg (Grade 100) | DOG | WLL 7400lbs at 60° | Grab Hooks | 3'The Holloway Chain Sling with grab hook, 3 ft length, stands as a robust and versatile lifting solution, and excels in delivering superior strength and durability, making it an ideal choice for the safe and efficient lifting of heavy equipment, machinery, and materials. Its 2-leg configuration enhances stability and is tailored for reliable lifting solutions. Built in Houston. Components sourced from trusted brands. Final product may vary from image. Learn Morewas $147.00 Special Price $132.30
-

 Holloway Chain Sling | 4-Leg (Grade 100) | 6'
6-Foot Holloway Brand 4-Legs Chain Slings are manufactured in Houston, Texas USA using the highest quality components available. Go factory-direct! Our Grade 100 Chain Slings are protected with a tough black coating for superior rust protection and performance. They are certified to meet or exceed industry standards for overhead lifting operations and are proof-tested to twice their Working Load Limit (WLL) at our testing facility. Grade 100 components can lift up to 25% more than Grade 80 — use a smaller chain diameter to meet the same WLL. Each sling is guaranteed to conform to ASME standards and comes with a metal tag including mill certificate, proof test, conformance certifications, and MTR information. When you want the best quality and value, no one beats Holloway!
Fast shipping: in-stock slings ordered before 10am Central are usually shipped the same day.
Learn More -
Holloway 1/4" Chain Sling | 4-Leg (Grade 100) | QOG | WLL 11200lbs at 60° | Grab Hooks | 3'4 leg chain sling with grab hook, 3 ft length is the most stable type of chain sling, ideal for lifting the heaviest loads. with its grade chain and grate WLL makes it perfect for lifting and moving heavy equipment, machinery, and materials. The 4-leg configuration provides excellent stability and even load distribution, improving productivity and efficiency, and extending the life of lifting equipment. Built in Houston. Components sourced from trusted brands. Final product may vary from image. Learn Morewas $294.51 Special Price $265.06